Tuesday 1 November 2016

Christmas Soaps 2016

I've been getting into the festive spirit and making some glittery and pepperminty Christmas soaps. I love the smell of peppermint and especially love it in soap - it is so refreshing and energising in that morning shower! And, of course, it smells like candy canes.


This one I called MERRY MINT.

I did a drop swirl - poured white batter into the mould then dropped red and green coloured batter into it from varying heights. Each bar is like a little picture.


This one I called PEPPERMINT CHRISTMAS for a lack of imagination.  It's a 3-colour tiger swirl with a red soap ball on top and gold glitter. It, too, smells like candy canes.


And lastly, my favourite. This one is STAR OF WONDER. It has a wonderful spicy essential oil blend of clove bud, lemon myrtle and cinnamon leaf. Activated charcoal gives it the dark night sky colour.


Friday 16 September 2016

Rainbow Soap Tutorial

 rainbow soap

Who doesn't love a rainbow?  This recipe uses 1000 grams of oils and fits this loaf mould rather nicely. I cut it into 8 slices about 3cm thick.

Recipe:

450g olive oil
330g sustainable palm oil
220g coconut oil
330g de-mineralised water
143g sodium hydroxide
Non-accelerating fragrance oil or essential oil - I used 40g of Brambleberry's Energy fragrance oil.

Remember when using essential oils not to use more than 3.5% of the total weight of oils in your soap. The total oils in this recipe is 1000g so only use up to 35g essential oil.

I used these colours from Aussie Soap Supplies:

cold process soap colours

Please note, for the blue on the very top photo on this page, and the photo at the very bottom, I used this ultramarine blue powder instead of the deep blue liquid pigment.

This is what I did:

WARNING: If this is your first cold process soap you need to learn the basics first as I won't be explaining them in this tutorial. Here are two videos on how to make cold process soap by the Soap Queen you should watch first - Lye Safety & Ingredients and Basic Terms. It is important that safety procedures be strictly followed as sodium hydroxide can cause serious injury and death if not used properly.
  • Dissolve sodium hydroxide in the water - remember to add the chemical to the water, not the other way around.
  • Warm the oils in a saucepan or in the microwave on medium heat. Once all the oils are completely dissolved, transfer the mixture to the container you wish to mix your batter in. A two litre pyrex jug with a spout works well. Stainless steel and heavy duty plastic can also be used. Some soapers use the saucepan they warmed their oils in, but make sure it is stainless steel and not aluminium as sodium hydroxide reacts with aluminium.
  •  I like both my mixtures (lye and oils) to be around 35-40 degrees celcius, but some soapers prefer it cooler. After some experience all soapers work out their own preferences.
  • Add lye to oils and blend to emulsion with a stick blender. (Emulsion is where everything is well mixed but hasn't started to thicken up).
  • Divide the mixture between 6 plastic jugs - there will be approximately 250 ml (1 cup) of soap batter per jug. I use these measuring jugs from Brambleberry. This part can be very messy - I use paper towel to protect the bench top.

Now it gets tricky! You're working with 6 different colours, a fragrance oil (some of which accelerate trace and others that can even thin it), you don't want to contaminate the colours too much with each other, and you want each jug of batter to thicken up at different times so you can layer them one by one into the mould.

I won't pretend it's easy, and I did have some problems, but this is what I did:
  • Weigh out your fragrance oil and have it ready.
  • Have two stick blenders on hand if possible.
  • Start with the first colour to be layered in the bottom of the mould - Magenta Violet. I admit I did not measure out my colours, I prefer sometimes to add colour until it looks right then hope for the best. Squirt some into one jug of batter and whisk with a wire whisk, adding more colour if needed. You may need to use the blender if the colour isn't mixing well or the batter isn't thickening at all.
  • When you're satisfied with the colour pour approximately 1/6 of the fragrance oil in (there is no need to be precise here.) Whisk.
  • Before you pour this into the mould you want it to be thick enough to be able to pour another colour on top of it without it breaking through. A thick custard-like consistency is good. If the batter doesn't thicken up by whisking, then use the stick blender to help it along. You need to be working quickly as the batter in the other jugs will start to thicken up too much if left too long.

                        rainbow soap
  • Pour the purple batter evenly into the mould and thump the mould down on the bench top a few times to get rid of any air bubbles.
  • Now follow the same procedure for the blue layer. When the batter is thick enough, pour it over the purple using the back of a spatula to ensure it sits on top of the purple layer without breaking through. Give the mould a bit of a thump.
  • Continue with this procedure for each of the colours in this order - after the blue then green, yellow, orange and red on the top. You may want to use a second clean blender once you get to the lighter colours to avoid the colours contaminating each other. Alternatively a quick wipe with some paper towel between colours may suffice but TURN THE POWER OFF FIRST!
  • Sometimes (okay, many times!) things don't go according to plan. I over-blended my soap batter initially and it started to thicken up too fast. By the time I got to the orange it was very hard to pour and I was plopping it on top and trying to spread it out to the edges of the mould. This kind of thing doesn't bother me because I'm a great believer in the beauty of the imperfections of a hand made product. I know my rainbow soap is not going to look "perfect".


rainbow soaprainbow soaprainbow soap

                                    rainbow soaprainbow soaprainbow soap

rainbow soap
  • Clean up the sides of the mould with some paper towel and spritz the top of the soap with isopropyl alcohol. The alcohol helps to prevent soda ash.
  • I cover the mould with a cardboard box, then cover the box with a blanket, which helps the soap to go into gel phase. This is optional, but I do like the way the colours "pop" or stand out after going through gel.
  • The soap (if gelled) should be ready to unmould after 24 to 48 hours. Then it should be sliced and cured for about 6 weeks.
  • Once un-moulded I chose to brush the top of my soap with red mica to give it a bit of sparkle.

rainbow soap

rainbow soap


rainbow soap

Saturday 18 June 2016

Australian Bush Soap

Here are three soaps I recently created using Australian essential oils of Eucalyptus, Tea Tree and Lemon Myrtle. The aim was to create soaps with fragrances reminiscent of leisurely hikes through the Aussie bush.

This one is a mix of all three of our favourite bushy essential oils (above) which I've named "Aussie Bush Soap". I used Australian Pink Clay as one of the colourants and went with an in-the-pot swirl (swirling different coloured soap batters together in the soap pot then pouring into a mould.)

aussie bush soap


This "Aussie Gumtree Soap", as you would expect, is eucalyptus scented. I also included a small amount of peppermint oil to soften the eucalyptus scent just a tad. I created a natural swirly look by dividing the batter into halves, colouring with yellow and green clay, and doing an in-the-pot swirl before pouring into the mould.


Aussie Gumtree Soap


My husband really wanted a tea tree scented soap but, after much experimenting with it, I came to the conclusion that the saponification process (the chemical reaction which turns oils into soap) is not kind to the smell of tea tree on its own. To rectify this I made a handmilled soap which involves making a plain soap first then grating it up, melting it down and adding the essential oils last. This ensures the essential oil retains all of its properties and scent in the soap. I was very happy with the outcome. Like the "Aussie Gumtree Soap", I also added some peppermint oil to soften the scent of the tea tree and found that the two blend beautifully.

Tea Tree and Peppermint Soap


RECIPES:

Aussie Bush Soap

40% Olive oil
25% Coconut oil
15% Palm oil
10% Cocoa Butter
5% Avocado oil
5% Castor oil

1% Eucalyptus Blue essential oil
1% Tea Tree essential oil
0.5% Lemon Myrtle essential oil

Run recipe through a lye calculator to find water and sodium hydroxide amounts.
Divide batter equally into 3 jugs, colour one with Aussie pink clay and the other with dark green liquid dispersion. Leave the third one plain.
Do an in-the-pot swirl and pour into a silicone 10 inch mould which can also be found here.

Aussie Gumtree Soap

40% Olive oil
25% Coconut oil
25% Palm oil
10% Cocoa Butter

2.5% Eucalyptus essential oil
1% Peppermint oil

Run recipe through a lye calculator to find water and sodium hydroxide amounts.
I coloured one half of the soap batter with Brazilian yellow clay and the other half with French green clay, did an in-the-pot swirl then poured into a silicone 10 inch mould.

Handmilled Tea Tree & Peppermint

Make a plain soap using the following ingredients and pour into a silicone 10 inch mould.

44% Olive oil
33% Coconut oil
23% Palm oil
(Run recipe through a lye calculator to find water and sodium hydroxide amounts.)

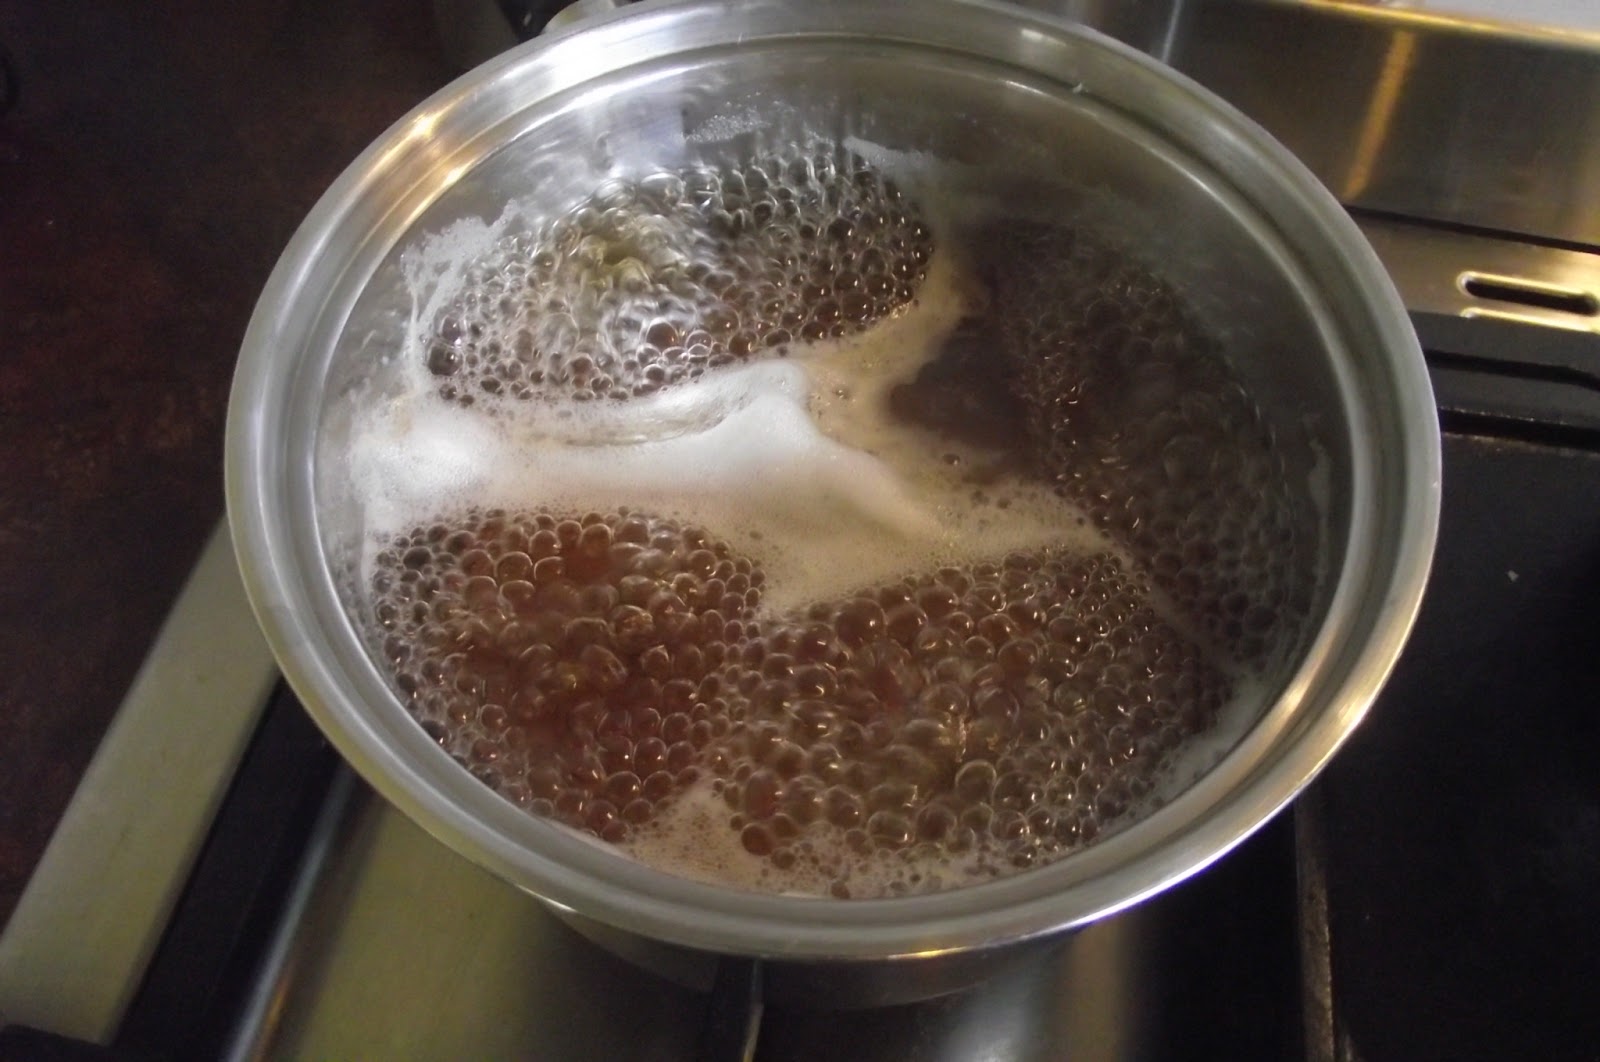
After 1-2 days, grate soap and melt down in a crock pot with a little bit of de-mineralised water (approximately 50 grams or so). Stir occasionally. 
When soap has melted and there are no large lumps in the batter and soap can be easily mixed with a wooden spoon, blend soap with an electric stick blender until smooth. 
Add a little bit of liquid titanium dioxide to lighten batter (optional). 
Add essential oils (or fragrance oils) and blend until fully incorporated. I used the following:
     - 1.5% Tea Tree essential oil
     - 1.5% Peppermint essential oil
Working as quickly as possible pour (plop!) mixture into a silicone 10 inch mould
Cover with plastic wrap and press down with hands to get batter right down into the mould. Give it a good thump on the work bench also. 
Leave to harden overnight, then slice up and cure as usual. (I leave these ones for a minimum of 10 weeks to ensure maximum evaporation of water and a harder soap.)

Sunday 8 May 2016

Elegant Crowned Crane - SMF Soap Challenge (Interpretation, not Imitation)

I am joining the challenge on this Soap Makers Forum for May 2016 titled Interpretation, not Imitation. Hosted by the lovely "newbie", she has provided us with a group of bird pictures from which we must choose one and create a soap inspired by our choice.

It is not about re-creating a picture, but about how we interpret what we see in the photo and express that in soap.

We must choose at least 4 colours from the picture to include in the soap, and we cannot use any colour that is not in the picture. We may use any mould and any technique and may include embeds.

Wahoo! Here we go .........

I chose this beautiful creature - a Grey Crowned Crane from South Africa. How gorgeous is she?


She puts me in mind of an elegant woman in a stylish gown and a sassy plumed hat. 

I love the soft, muted colours with the grey tones - I have chosen to include in my soap the green of the grass, the brown/purple of her tail feathers and two of the grey shades on her body.

What I'm aiming to convey in my soap is the quietness and feeling of peacefulness I get from the picture, but also the elegance and sassy-ness of the bird.

Recipe: Sweet Almond & Shea

This one has mostly light coloured oils which should make it easier to mix the right colours. Also it stays quite fluid long enough to do most swirls.

300g Sustainable Palm oil
300g Coconut oil
150g Olive oil
150g Sweet Almond oil
100g Shea Butter

360g de-mineralised water
143g sodium hydroxide


I'm using a 28% lye concentration and CPOPing to encourage a full gel.

Technique:

I'll use a 10" silicone bar mould with dividers for 4 colours and attempt a "feathery" type swirl through the whole soap.

Here goes ... Add the lye solution and blend to emulsion (just blended).


Pour mixture evenly into 6 jugs and add colourants. I used liquid dispersions from Aussie Soap Supplies. I mixed in with a whisk first then gave it a bit of a stick blend before I poured it into the mould.  Add fragrance oil - check out this nifty trick of pouring down a skewer, it prevents the oil dripping down the bottle.


I poured into the mould in the order: green, purple, dark grey, light grey - keeping to the order of colours in the photograph.


These things are tricky to pull out - I needed pliers. I forgot to work out exactly how to execute a clean removal before I started and made a bit of a mess of the lines!


Not to worry - I'm sure I can make something of this ...


I've put it in a slow oven and turned the oven off (Cold-Process-Oven-Process - or CPOP).

Tomorrow will tell ...

Final Result:

Unfortunately the purple colour has morphed into something that isn't in the picture so my soap can't be entered into the competition, but it has been a fun challenge and learning experience anyway.


Monday 11 April 2016

Beer Soap (well, why not?)


Beer SoapBeer Soap

There has been a decidedly yeasty fragrance wafting through the beautiful Derwent Valley in recent weeks, not unlike the smell of bread rising. This is the result of the hops being harvested in one of the oldest operating hop farms in Australia.

I love it! I drive through Bushy Park with my windows down sniffing it up and wondering how I could combine this fabulous fragrance and soap! I still haven't worked that out, but I do know that adding beer to soap is very do-able and, in fact, has the effect of adding lovely bubbles. So I decided to whip up a special bar incorporating a popular local brew ... well, why not?

Making the Soap

The first thing about making beer soap, apparently, is that the beer must be flat and alcohol-free. So I poured my two 375ml cans of beer into a saucepan and let it sit for 24 hours, then boiled it for 5 mins to get rid of the alcohol.

I refrigerated it until cool then added the sodium hydroxide to 330 grams of the beer and froze the rest for another time. As the chemical and beer react with each other a rather powerful smell is given off which I've heard others describe as being unpleasant, but I have to admit I love it - it smells kind of malty or "caramelly", quite edible. The mixture goes quite dark and produces a froth on the top.

Beer SoapBeer SoapBeer Soap

After warming my oils, adding the beer and bringing the mixture to a thin trace, I poured off about 300 mls into a jug and lightened it with a wee bit of titanium dioxide. TD and I have a love/hate relationship so I try not to overuse it - when it works for me it's brilliant, when it doesn't I end up with soft chalky soap which I hate. 

I added the fragrance oil (Brambleberry's Oatmeal Stout) to the rest of the batter in the main soap pot. This FO discolours to brown which I want for the bottom of my soap so that hopefully it will resemble the colour of beer. The top (coloured with the TD) is supposed to resemble beer froth. At least this is my intention!

I poured the main batter into a silicone loaf mould at reasonably thick trace, then carefully poured the white portion over a spatula as a top layer and swirled it up a bit with a kebab stick to try and make it look kind of "frothy". Then I put it to "bed" under a box piled with blankets to encourage a full gel. (The sign says, "Soap saponifying, please do not disturb"), although my family doesn't really need reminding what's underneath all those strange piles of blankets on tables all over the house.
Night night ...

Beer Soap 

The following morning my baby had firmed up beautifully and came out of its mould easily. Looks pretty good to me! 
Beer Soap

RECIPE: Beer Soap

400 grams olive oil
250 grams coconut oil
250 grams palm oil
100 grams cocoa butter
330 grams flat, boiled beer
142 grams sodium hydroxide

Beer Soap


Saturday 2 April 2016

Back to the Rustically Beautiful Basics

Tallow Soap

This was my first foray into crafting soap from animal fat. Why bother, you may ask? I could argue that it is part of my philosophy around sustainable living - using the whole of the animal and all that - but to be honest it was for two other reasons. 1. My mother suddenly got it into her head to make a "big batch" of tallow soap just like she used to do 35 years ago; and 2. I'd never done it before - perfect opportunity to try something new!  There is a third reason - it was a wonderfully fun thing for my mum and I to do together.

Mum had been tirelessly scouring shops, supermarkets and butchers for tallow for a couple of weeks in vain. Perhaps it was the new packaging (brought in sometime during the last few decades) that threw her. With the help of some Aussie soapers from this Soap Making Forum we found it in the guise of a brightly red packaged block labelled Supafry.

Mum bought 3 kilos of it and announced her intention of making one of her "big batches", although she happily swapped the wooden stick she used to use for a stick blender.

Tallow Soap

Against popular procedure we poured the soap batter straight into a Tupperwear container without lining it as Mum assured me that's how she used to do it and it would pop out easily, which it did. It went through a very hot gel and was ready to unmould less than 24 hours later - in fact we could have unmoulded sooner as it was very hard. 

Tallow Soap

We couldn't stop ooohing and aaahing over it - I can't express how excited I am about this soap!
We chopped it up and vegie-peeled the sides a bit and it looks ... rustically beautiful!

Tallow Soap Tallow Soap

Recipe for our 100% Tallow Soap (all natural, no fragrance or colour)

(Warning - makes a "big batch")
3 kilograms (3000 grams) beef tallow
401 grams sodium hydroxide
990 grams de-mineralised water

Rustically beautiful:
Tallow Soap

Popular Posts